


This procedure describes how to capture and view WPF screen elements in the Real-Time Designer. When you capture a WPF screen element, a hierarchy is automatically created in the Real-Time Designer.
To capture a WPF screen element:
| 1. | Run the WPF application and open the Real-Time Designer. |
| 2. | Capture a WPF screen element, as described in Capturing a Screen Element. |
| 3. | In the Real-Time Designer, select the Physical Objects tab. In the Screen Elements tree on the left, you will see two levels of screen elements. The top one is the WPF process, and the next one is the captured WPF screen element. |
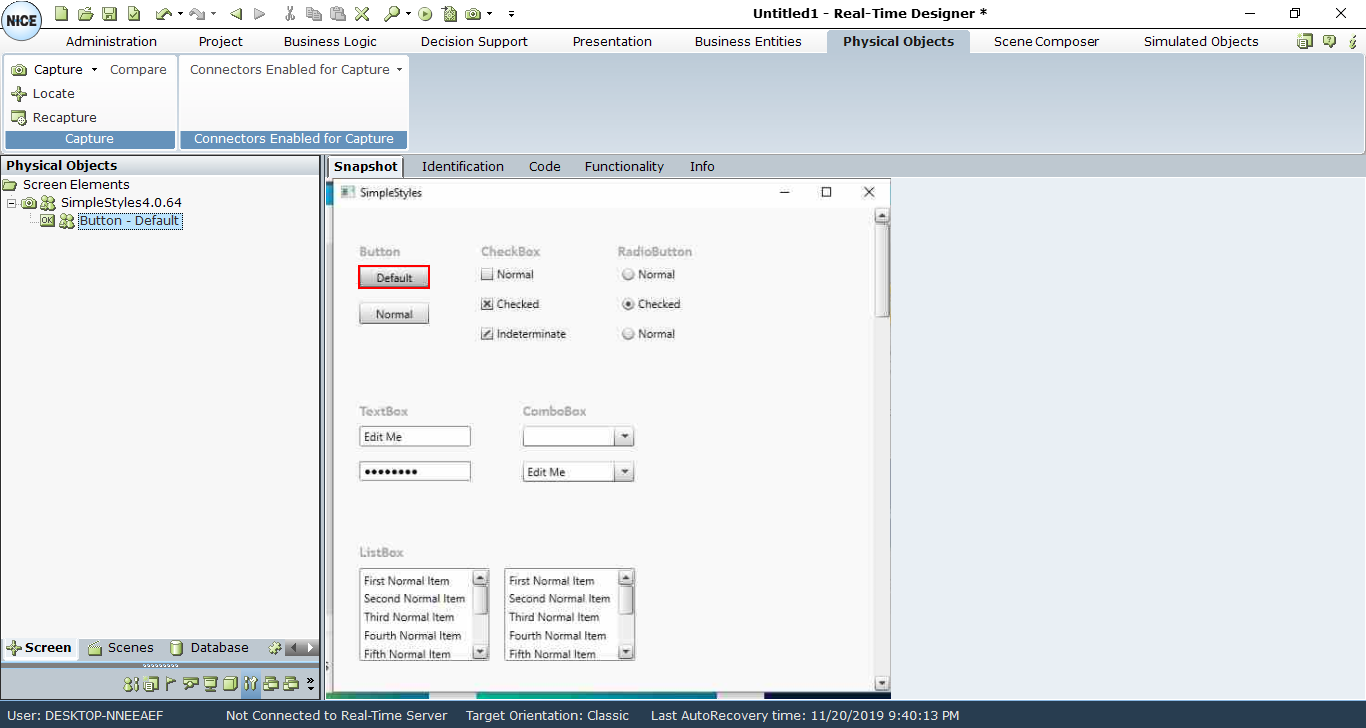
| 4. | On the root screen element (process level), right-click and select Show Hidden Captures to see the hidden captures in the Screen Elements tree (see also Screen Elements Hierarchy). |
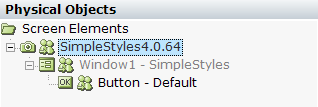
The root screen element’s level is a WPF Process. The next level is WPF Window screen element, which is the parent of the captured WPF screen element at the bottom of the hierarchy tree. Each WPF screen element has its own class name that starts with a WPF prefix. See Viewing WPF Screen Element Identification Details.